Import & Export
Import CSV
The Import option lets you upload test cases in bulk using a CSV file.
It follows a step-by-step guided process and accepts the same column structure as exported files so that you can export, modify, and re-import easily.
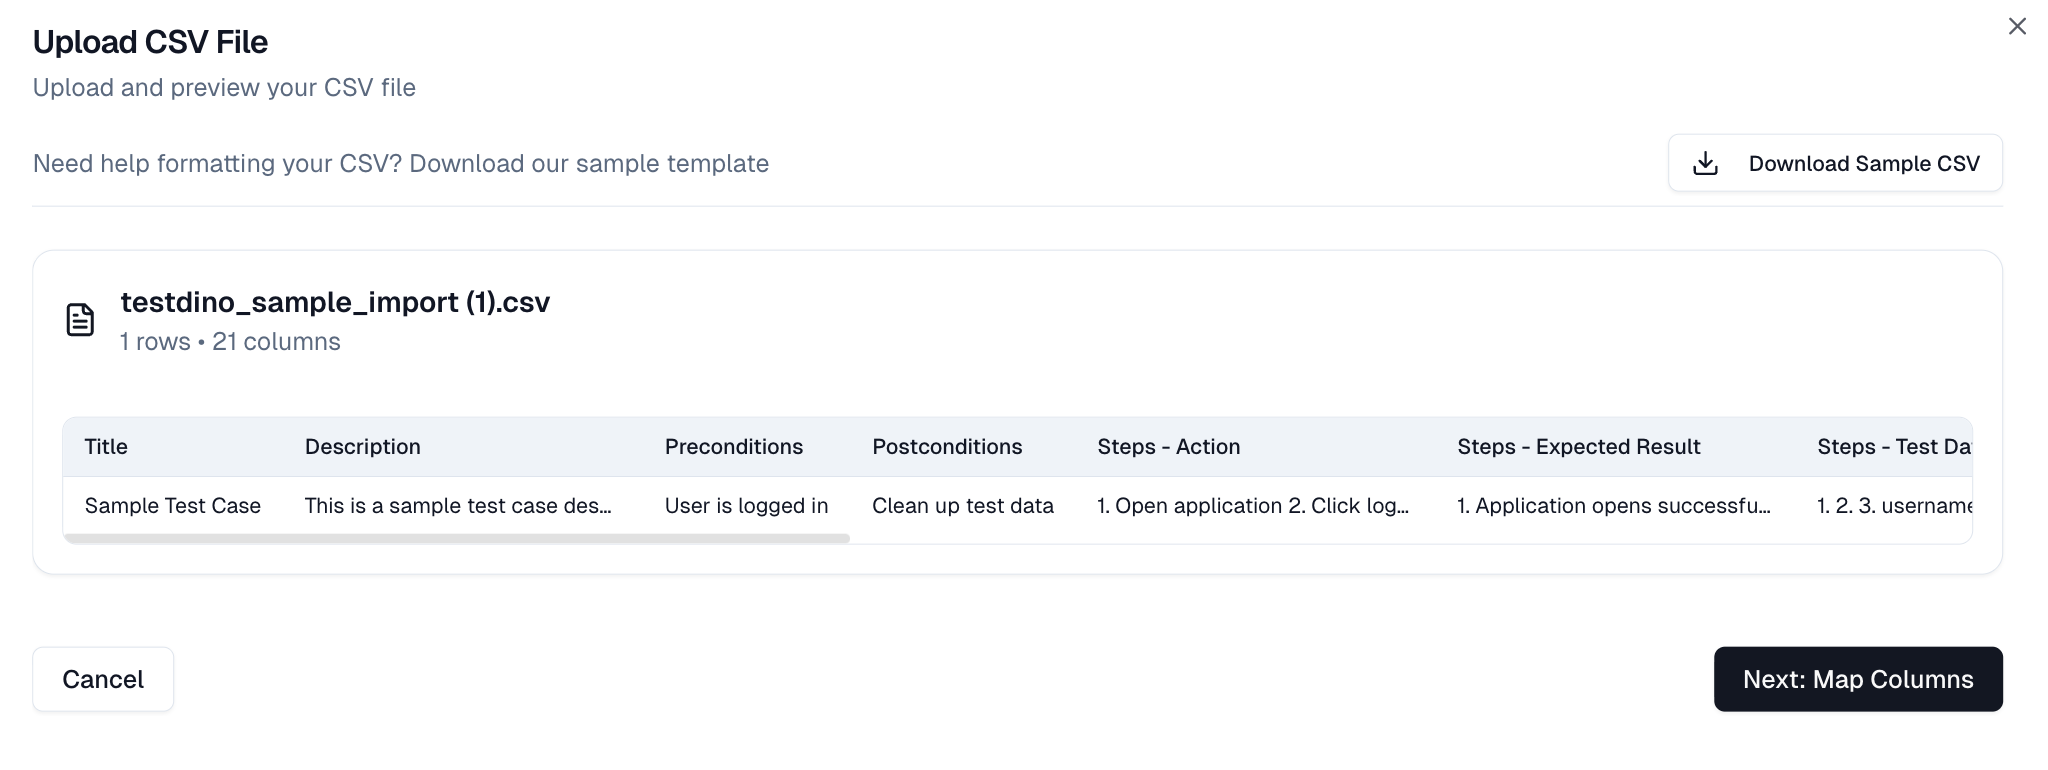
1. Upload CSV File
-
Click Import from the toolbar and select a CSV file.
-
A Download Sample CSV button is available to get a template and ensure correct formatting.
2. Map Columns
-
TestDino attempts to match columns from your CSV to its internal fields.
-
You must map the Title field, which is required.
-
You can map other fields, such as Description, Priority, Severity, Status, Tags, and Suite Hierarchy/Path.
-
Any unmapped columns from your CSV will be automatically created as custom fields in TestDino.
3. Map Enum Values
-
Align CSV values for dropdowns such as Priority, Severity, Type, Behavior, Layer, Status, and Automation Status to TestDino's predefined options.
-
You can set defaults for any unmatched values.
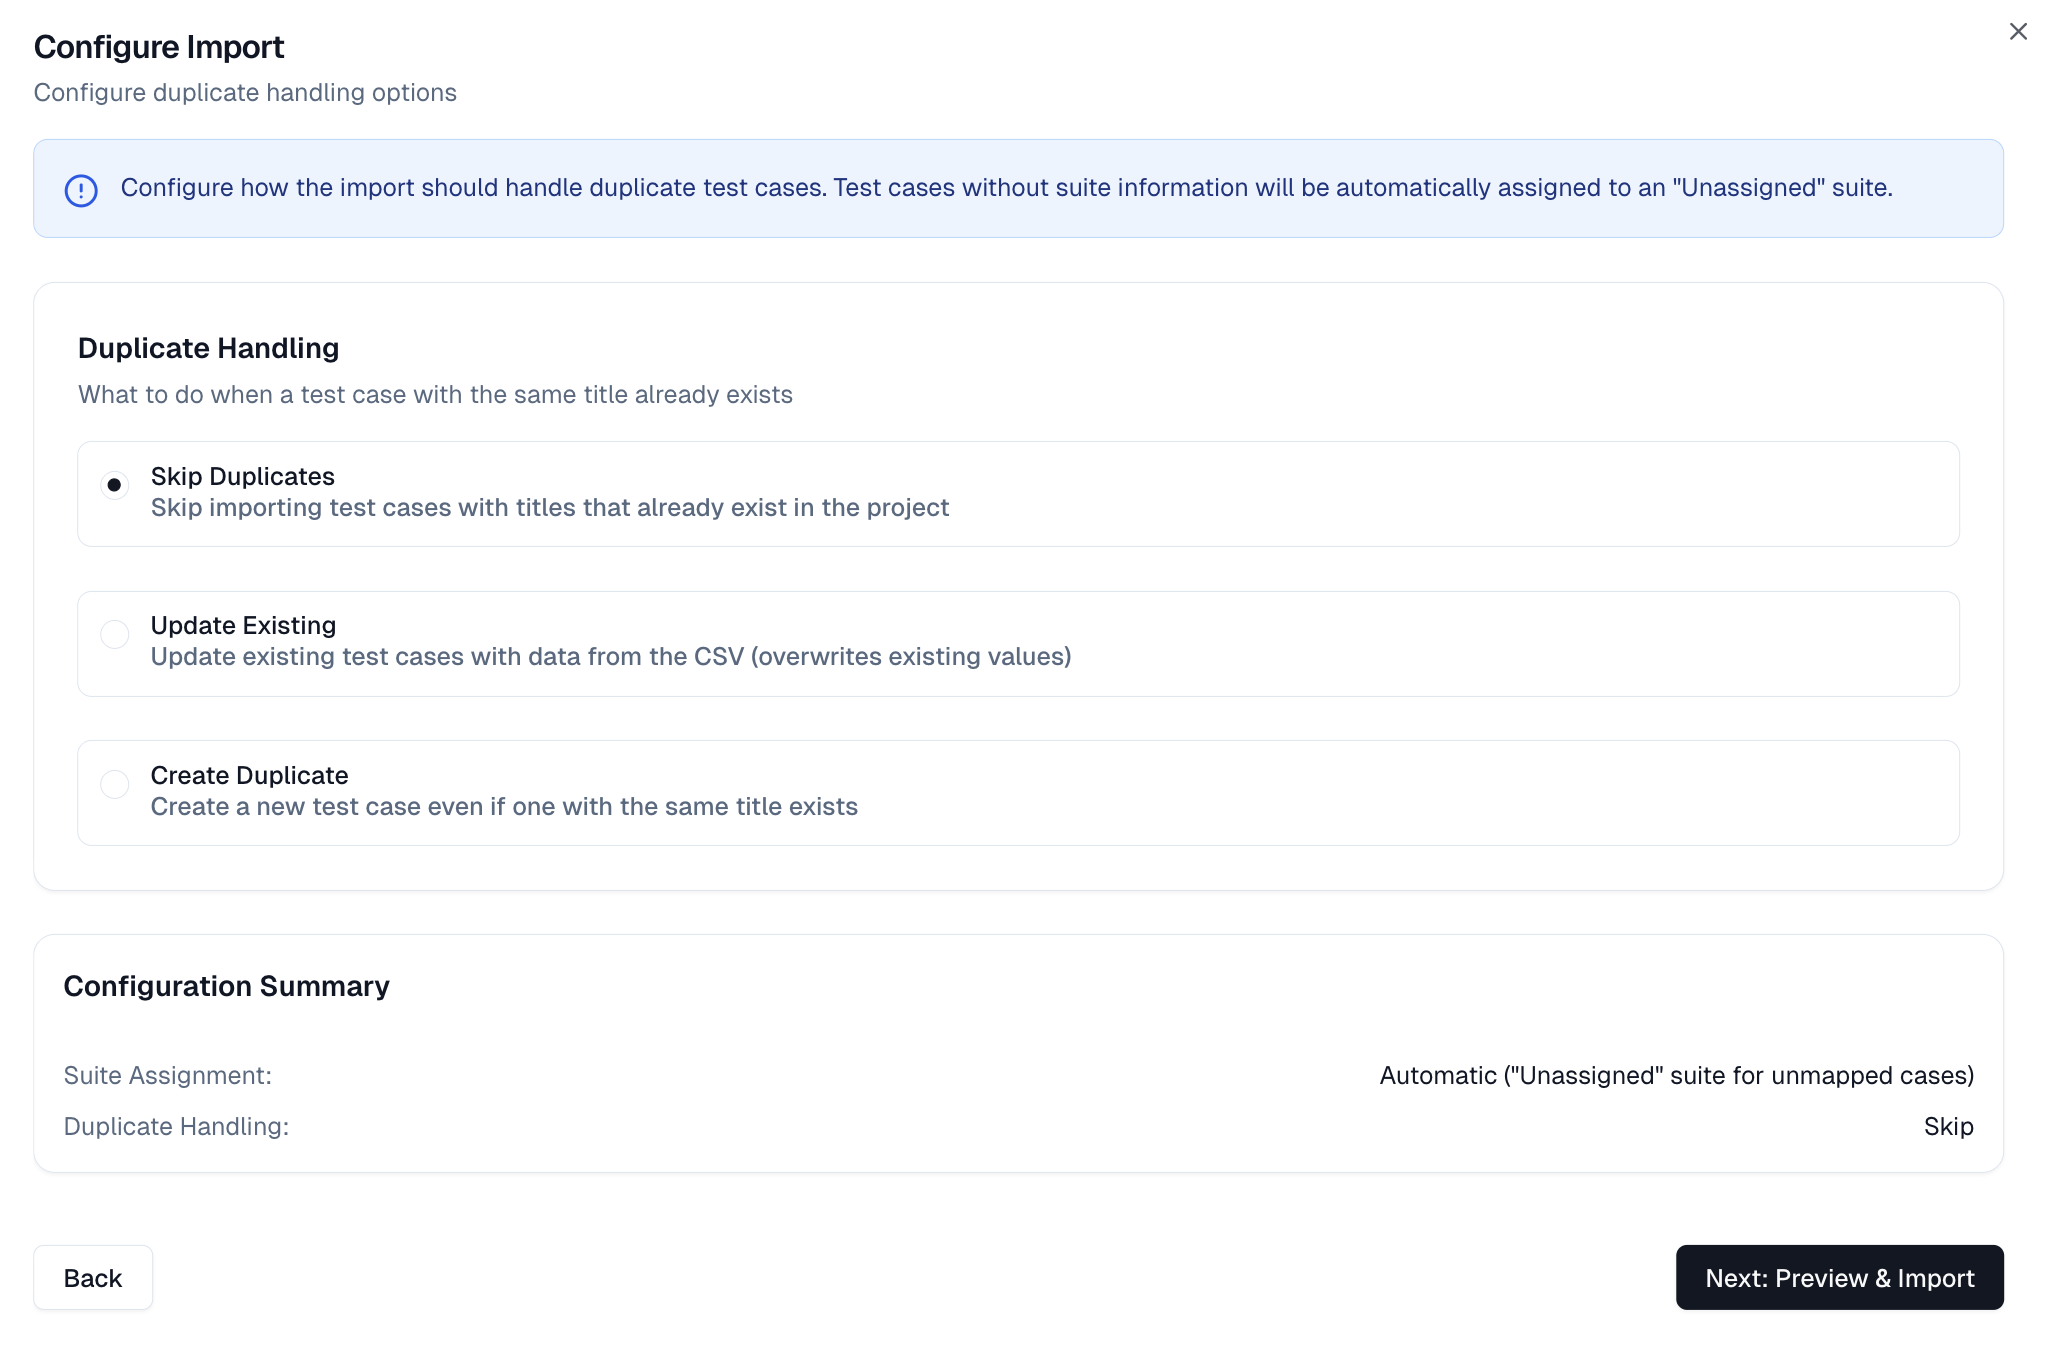
4. Configure Duplicate Handling
Decide how TestDino handles identical titles already present in the project:
-
Skip Duplicate: Ignores the new test case from the CSV.
-
Update Existing: Overwrites the existing test case's data with the CSV data.
-
Create Duplicate: Creates a new test case, resulting in two tests with the same title.
5. Preview & Import
-
Review a sample preview of the first row to confirm your data is mapped correctly.
-
Click Start Import to begin the process.
If any test case lacks suite information, TestDino automatically creates an Unassigned suite and adds the test case to it.
Export CSV
The Export option in TestDino allows you to download test cases as a CSV file directly from the Test Cases page. It automatically adapts to what's selected or filtered in your current view.
Exports always contain the same data columns and structure, but the scope of data depends on what is filtered or selected before exporting.
How to Export?
-
Open the Test Cases tab.
-
Apply filters or select what you want to export.
-
Click the Import/Export icon on the top-right of the toolbar.
-
Choose Export Selected (#) if test cases are selected, or Export All if exporting all visible results.
-
The CSV file downloads automatically and includes all visible columns and metadata.
A confirmation banner appears on successful export, e.g., "4 test cases exported successfully."
Best Practices:
- Apply filters beforehand to target only the relevant test cases in your export.
- Select just the cases you need to keep the CSV file concise.
- Export entire suites to back up all test cases for a module and its subsuites.
- Reuse exported CSVs as templates for streamlined importing or bulk updates.
Export Scenarios
| Scenario | Export Result | |
|---|---|---|
| 1. | No filters, no selections applied | Exports all test cases in the project. The number matches the Total shown in the KPI tile at the top. |
| 2. | Filters applied, no selections made | Exports only the filtered test cases visible on the page, across all suites. The export respects your active filters regardless of the suite hierarchy. |
| 3. | One or more test cases selected (no filters) | Exports only the selected test cases. The export button label updates to show the count, for example: Export Selected (4). |
| 4. | Filters applied and individual test cases selected | Exports only the test cases you selected from the filtered list. The filtered set limits the selection. |
| 5. | One entire suite selected | Exports all test cases and sub-suites under that suite. The export includes all nested content within the selected suite. |
| 6. | Multiple suites selected | Exports all test cases contained within the selected suites and their nested subsuites. |