Overview
What is Test Case Management?
The Test Case Management tab in TestDino is a standalone workspace where teams can create, organize, and maintain all their manual and automated test cases within the project.
It acts as the foundation for structuring test coverage, grouping test cases under suites and subsuites, and managing classification, automation status, and metadata.
The layout prioritizes clarity and speed: a sidebar for suite hierarchy, a top bar for key actions, and a main panel for test cases in grid or list form.
Key Concepts
| Concept | Description |
|---|---|
| Suite Hierarchy & Management | Create and manage nested suites for structured test case grouping. Suites can contain test cases and/or subsuites for flexible organization by module or team. |
| Viewing Modes | Toggle between List View (table) and Grid View (cards), each supporting quick edits, inline actions, and filtering. |
| Import & Export | Add or export test cases in CSV format, supporting column mapping, enum alignment, duplicate control, and data validation. |
| Bulk Operations | Perform multi-select actions: update, move, tag, classify, or change statuses for many test cases at once. |
| Filter & Search | Find test cases quickly using instant search and filter dropdowns. |
| Automation Integration Fields | Track automation readiness and stability by marking test cases as Manual, Automated, To Be Automated, Flaky, or Muted. |
Workspace Overview
KPI Tiles

At the top of the Test Case Management tab, four KPI tiles summarize the state of all test cases in the workspace:
-
Total: The total number of test cases in the project.
-
Active: Test cases marked as 'Active' and ready for use.
-
Draft: Test cases in a draft state, not yet finalized.
-
Deprecated: Retired or outdated test cases kept for reference
These metrics update dynamically as test cases are added, deleted, or reclassified.
Views
The Test Cases page shows all test suites listed in a collapsible hierarchy. Clicking a suite expands it to show its test cases, and if that suite contains subsuites, those appear as nested sections as well.
You can switch between two ways to view all test cases: List View and Grid View.
1. List View (Table Layout)
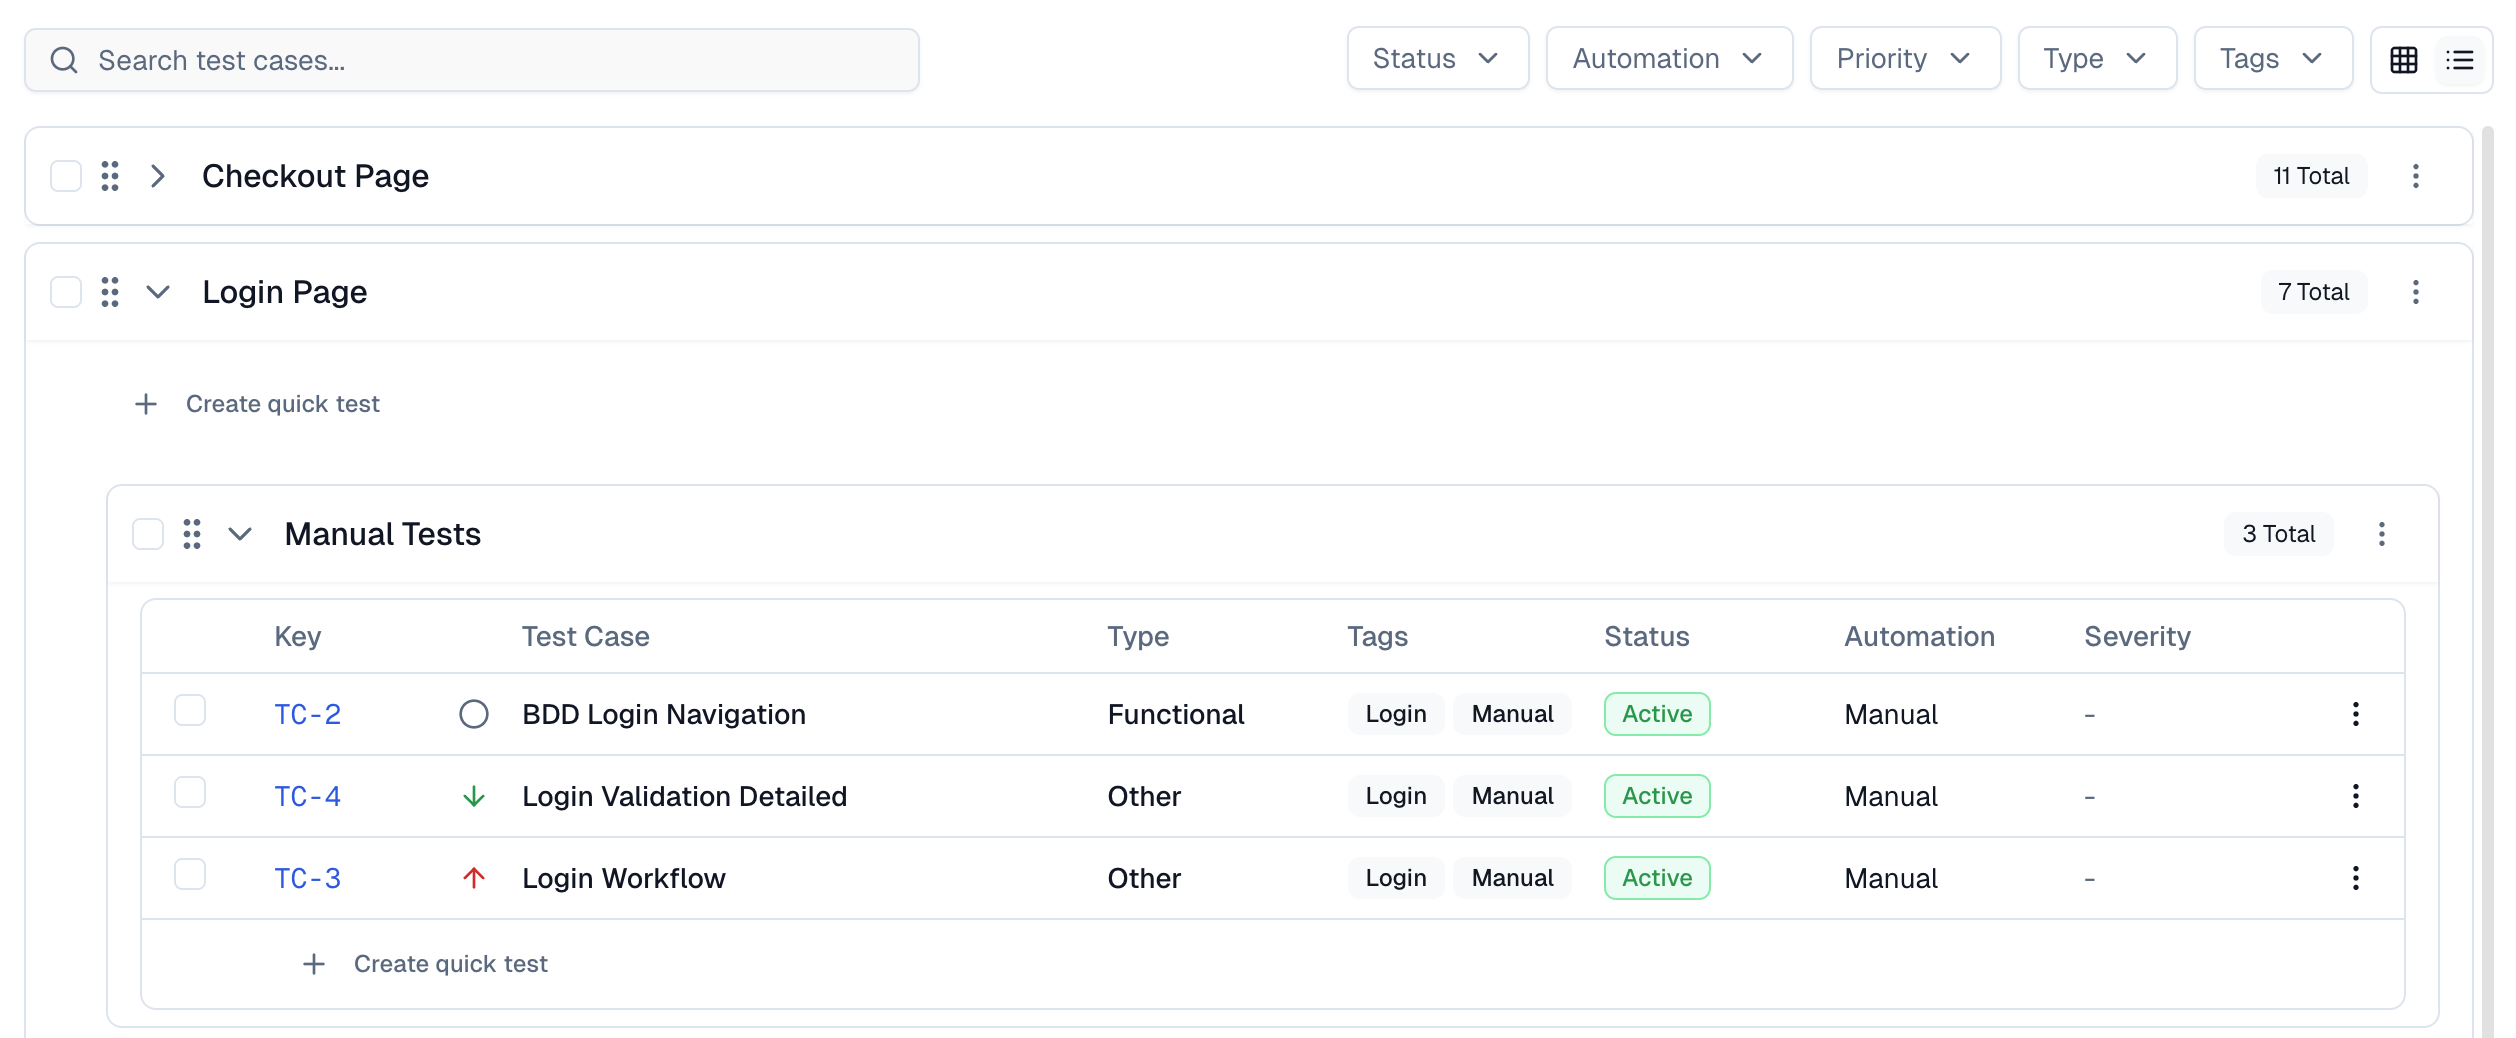
This is a high-density table format, ideal for bulk operations and scanning. It includes the columns for the Key, Title & Priority, Type, Tags, Status, Automation, and Severity.
Use checkboxes for bulk selection or the action menu on each test case row for individual actions.
2. Grid View (Card Layout)
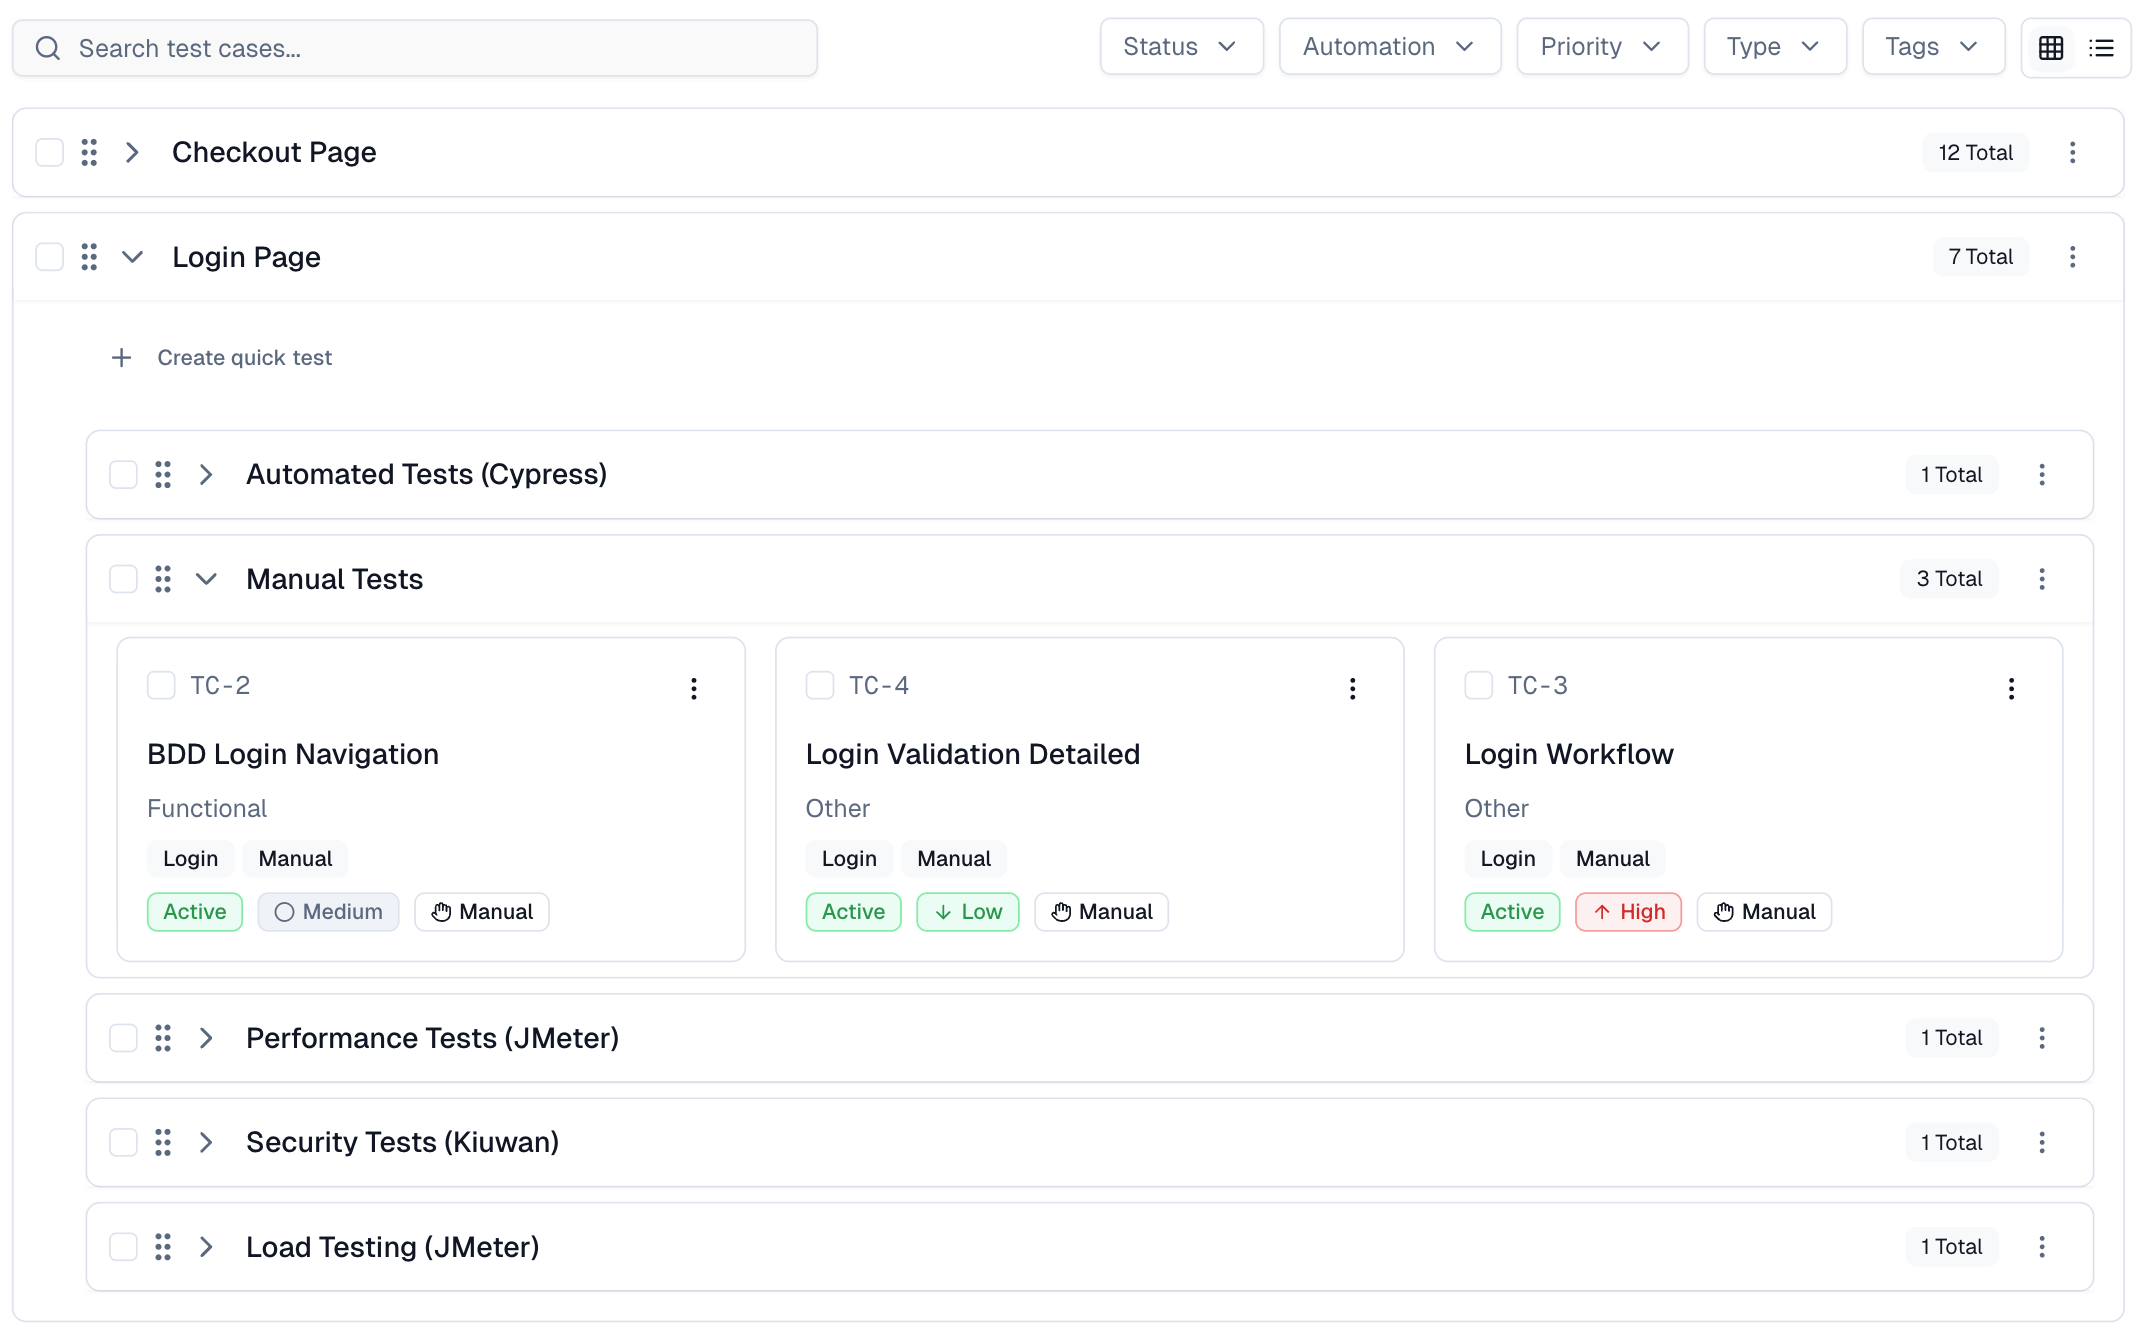
This is a visual, card-based layout. Each card shows the Key, Title, Priority, Severity, Status, Automation, and Tags
Search Functionality
You can search by test case name (Title) or by its Key (ID) (e.g., TC-6297). The list filters in real-time as you type.
Available Filters
To the right of the search bar, there are five filter dropdowns to refine the test cases shown:
-
Status: Filter by Active, Draft, or Deprecated.
-
Automation: Filter by Manual or Automated.
-
Priority: Filter by High, Medium, Low, or Not Set.
-
Type: Filter by any test type (Functional, Smoke, and more).
-
Tags: Filter by one or more user-defined labels.
You can apply multiple filters at once to create powerful, specific queries. For example, you can filter for: [Status: Active] + [Priority: High] + [Tags: smoke] = See all high-priority, active smoke tests.
Quick start steps
1. Open the Test Cases tab
Go to your project and select Test Cases from the navigation bar. This opens the Test Case Management workspace.
2. Create your first suite
In the Suite Sidebar, click the New Suite button to create a new suite or subsuite. Use suites to group related test cases under feature, module, or component names.
3. Add test cases
Use the New Test Case button in the toolbar to open the full creation form. You can also add test cases directly within a suite or from the suite's context menu.