

Prerequisites
- A TestDino project with test runs uploaded (Getting Started)
- An Asana account with permission to create tasks
- An Asana workspace and project to file tasks into
Connect Asana to TestDino
Open the Integrations page
Go to Settings → Integrations in your TestDino project. Open the Asana tile, then click Connect Asana in the panel.
Authorize your Asana account
TestDino redirects you to Asana to authorize access. Sign in and approve the request. TestDino requests permission to read workspaces, projects, and create tasks.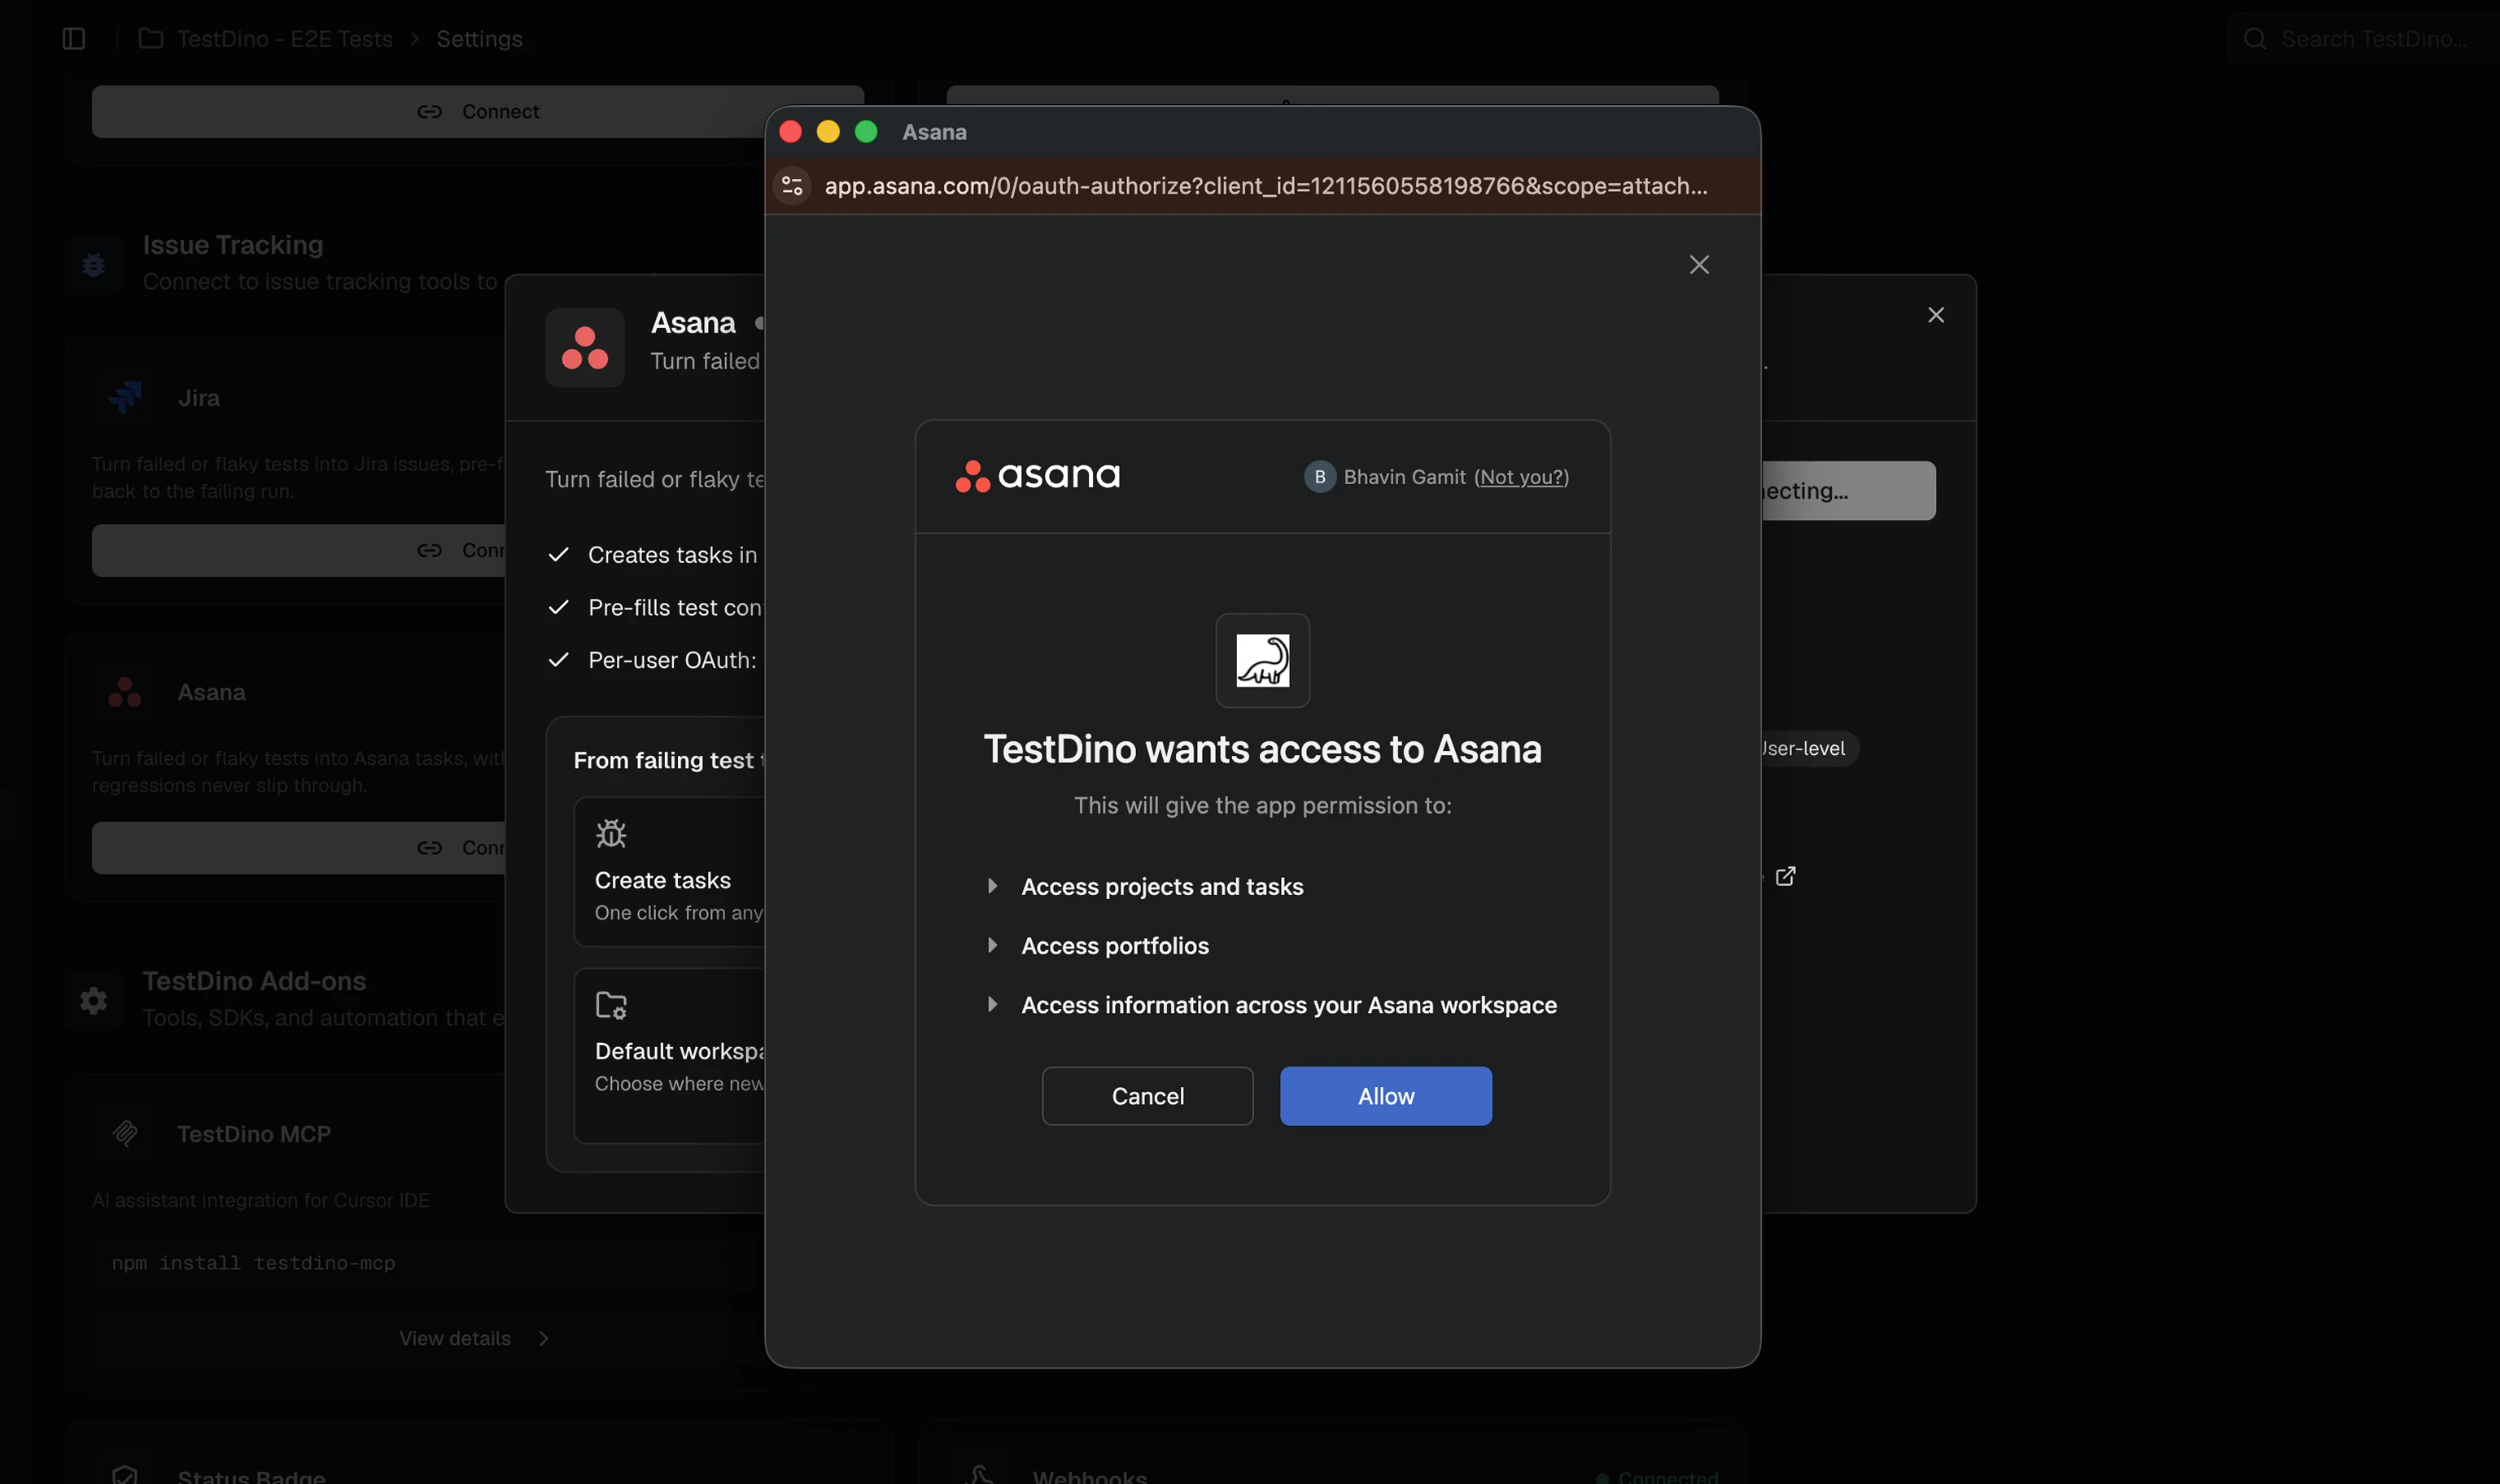
Configure defaults
After authorization, select the default Workspace where tasks will be created. You can select a specific project each time you create a task.
NoteThe default workspace is a convenience setting. You can change to different workspace without disconnecting integration.
Create an Asana Task
Create Asana tasks directly from failed or flaky test cases. Each task includes test metadata, so your team has full context without opening separate reports.1
Open a Test Run
Navigate to a Test Run in TestDino.
2
Select a test case
Choose a failed or flaky test case from the run.
3
Raise Issue
Click Raise Issue and select Asana.
4
Configure & Create task
Select the Workspace and Project. Add an Assignee if needed. Review the Title and Description, then click Create to file the task in Asana.For the report format, AI title suggestions, and attachments, see Raise an issue from a failed test.
5
Confirm creation
The panel shows Issue created in Asana, the project, the task, and what the task included. Click Open in Asana to open the task, or copy its link.
What TestDino Pre-fills
Every task is created with structured context so the developer receiving it has everything needed to investigate.
The Concise report format keeps only the summary, the failure information, and the links. See Choose what the description includes.
Task titles no longer start with
[TestCase]. The description starts with Test Failure Report and links back to the test run in TestDino.
Troubleshooting
Workspaces or projects not showing in the form
Workspaces or projects not showing in the form
- Click Sync on the Asana card in Settings → Integrations to refresh workspaces and projects from Asana
- Verify your Asana account has access to the workspace and project you expect to see
Task created but missing context
Task created but missing context
- Asana task descriptions are generated from the test failure data. If fields appear empty, ensure the test run has complete metadata (branch, commit, environment)
- Run Sync to pull the latest workspace configuration from Asana