


Create Or Edit Test Case
Click + New in the header to open the New test case sheet. It uses the same editors as the Details Sheet: pick the Suite, then fill in the title, description, and steps, and set the fields in the Details panel below them. To edit an existing case, open it from the list and change any field in the Details Sheet. The suite defaults to the one selected in the sidebar; choose None (Unassigned) to leave the case out of any suite.Title is required, and so is any custom field your project marks as required. Click Create or press ⌘ + Enter to create the case. Attachments and reusable steps are added after the case exists.
Closing the sheet with unsaved input asks Discard this test case? first.
Steps
Switch between Classic and Gherkin with the toggle above the steps.
A test case holds steps in 1 format. Switching away from a format that already has steps asks
Switch to Gherkin? (or Switch to Classic?) and removes those steps when you click Switch and remove. An empty format switches without asking.
Click Add step to add more steps. Expand Pre/Post-conditions to set what must be true before the case runs and the expected system state after.
Search
Use the search bar at the top to find test cases. It matches the title, case ID, description, pre- and post-conditions, tags, and step text. Results update as you type. Press/ to jump to the search bar and Esc to clear it.
Sort
Sorting depends on where you are in the sidebar.
The order you drag into a suite is the same order a run shows under Manual Order, so arranging cases once arranges them everywhere.
Filter
Click Filter to narrow the list by status, priority, severity, type, layer, behavior, automation status, flags (To Be Automated, Flaky, Muted), tags, linked automated tests or issues, and dropdown, multi-select, or checkbox custom fields. Applied filters appear as chips above the list. Click Clear all on that row to remove them all at once.
Columns
Click Columns to choose what each row shows.Status and Priority are on by default; Severity, Type, Layer, Behaviour, and Created by can be turned on. Tags and Updated at always show on wide screens. A field turned off in Test Case Settings is not offered as a column.
The same menu has a Density section. Tick Compact rows to fit more test cases on screen.
To change a column’s width, drag the divider at its left edge. Double-click the divider to restore the default width. Widths are remembered per project.
Columns need room to render, so some appear only on wider screens. The picker tells you which ones: a column ticked on a narrow window shows once there is space for it.
Edit From The Row
Status, Priority, Severity, Type, Layer, and Behaviour are dropdowns in the row. Click a value to change it without opening the case. The options are the values your project defines in Test Case Settings.
Click the automation icon before a title to switch the case between Manual and Automated. Turning automation off asks Turn off automation? first, because it removes the case’s links to automated tests. See Keeping links accurate.
Details Sheet
Click any test case row to open the Details Sheet from the right side. It shows all test case information on a single scrollable page without tabs. The header includes the suite name (click it to move the case), case ID with copy link, pagination controls, print option, close button, and status badge. You can update the test case status directly from the header dropdown. PressJ for the next test case and K for the previous one, the same as the pagination controls. J and K do nothing while you are typing in a field. Esc cancels the field you are editing; with nothing open, it closes the sheet.
If you leave a case while an edit is still open and changed, TestDino asks Discard changes? before moving on. Choose Keep editing to stay, or Discard to drop the edit. An edit you have not changed switches cases without a prompt.
Description
The Description section gives a brief overview of what the test case is meant to validate, helping users quickly understand its purpose and scope before execution. Pasting Markdown into the description, or any other formatted text field, converts it to formatting: headings, lists, quotes, code, bold, strikethrough, and links. Text copied from a web page keeps its original formatting.Steps
The Steps section defines the test execution flow usingAction, Test data, and Expected result columns. Switch between Classic and Gherkin with the format toggle; a test case keeps steps in 1 format, so switching away from steps you wrote removes them after you confirm (see Steps). Show or hide the Expected result and Test data columns with the eye icons.
Steps can include inline images. Add more steps with the Add step button.

Pre-conditions and Post-conditions
This section appears above Steps as a collapsible block, where Pre-conditions define the required setup or system state that must be in place before execution begins, and Post-conditions define the expected system state after execution is completed.
Attachments
Drag-and-drop or browse to upload. A case allows up to 10 attachments total.
Linked Automation Tests
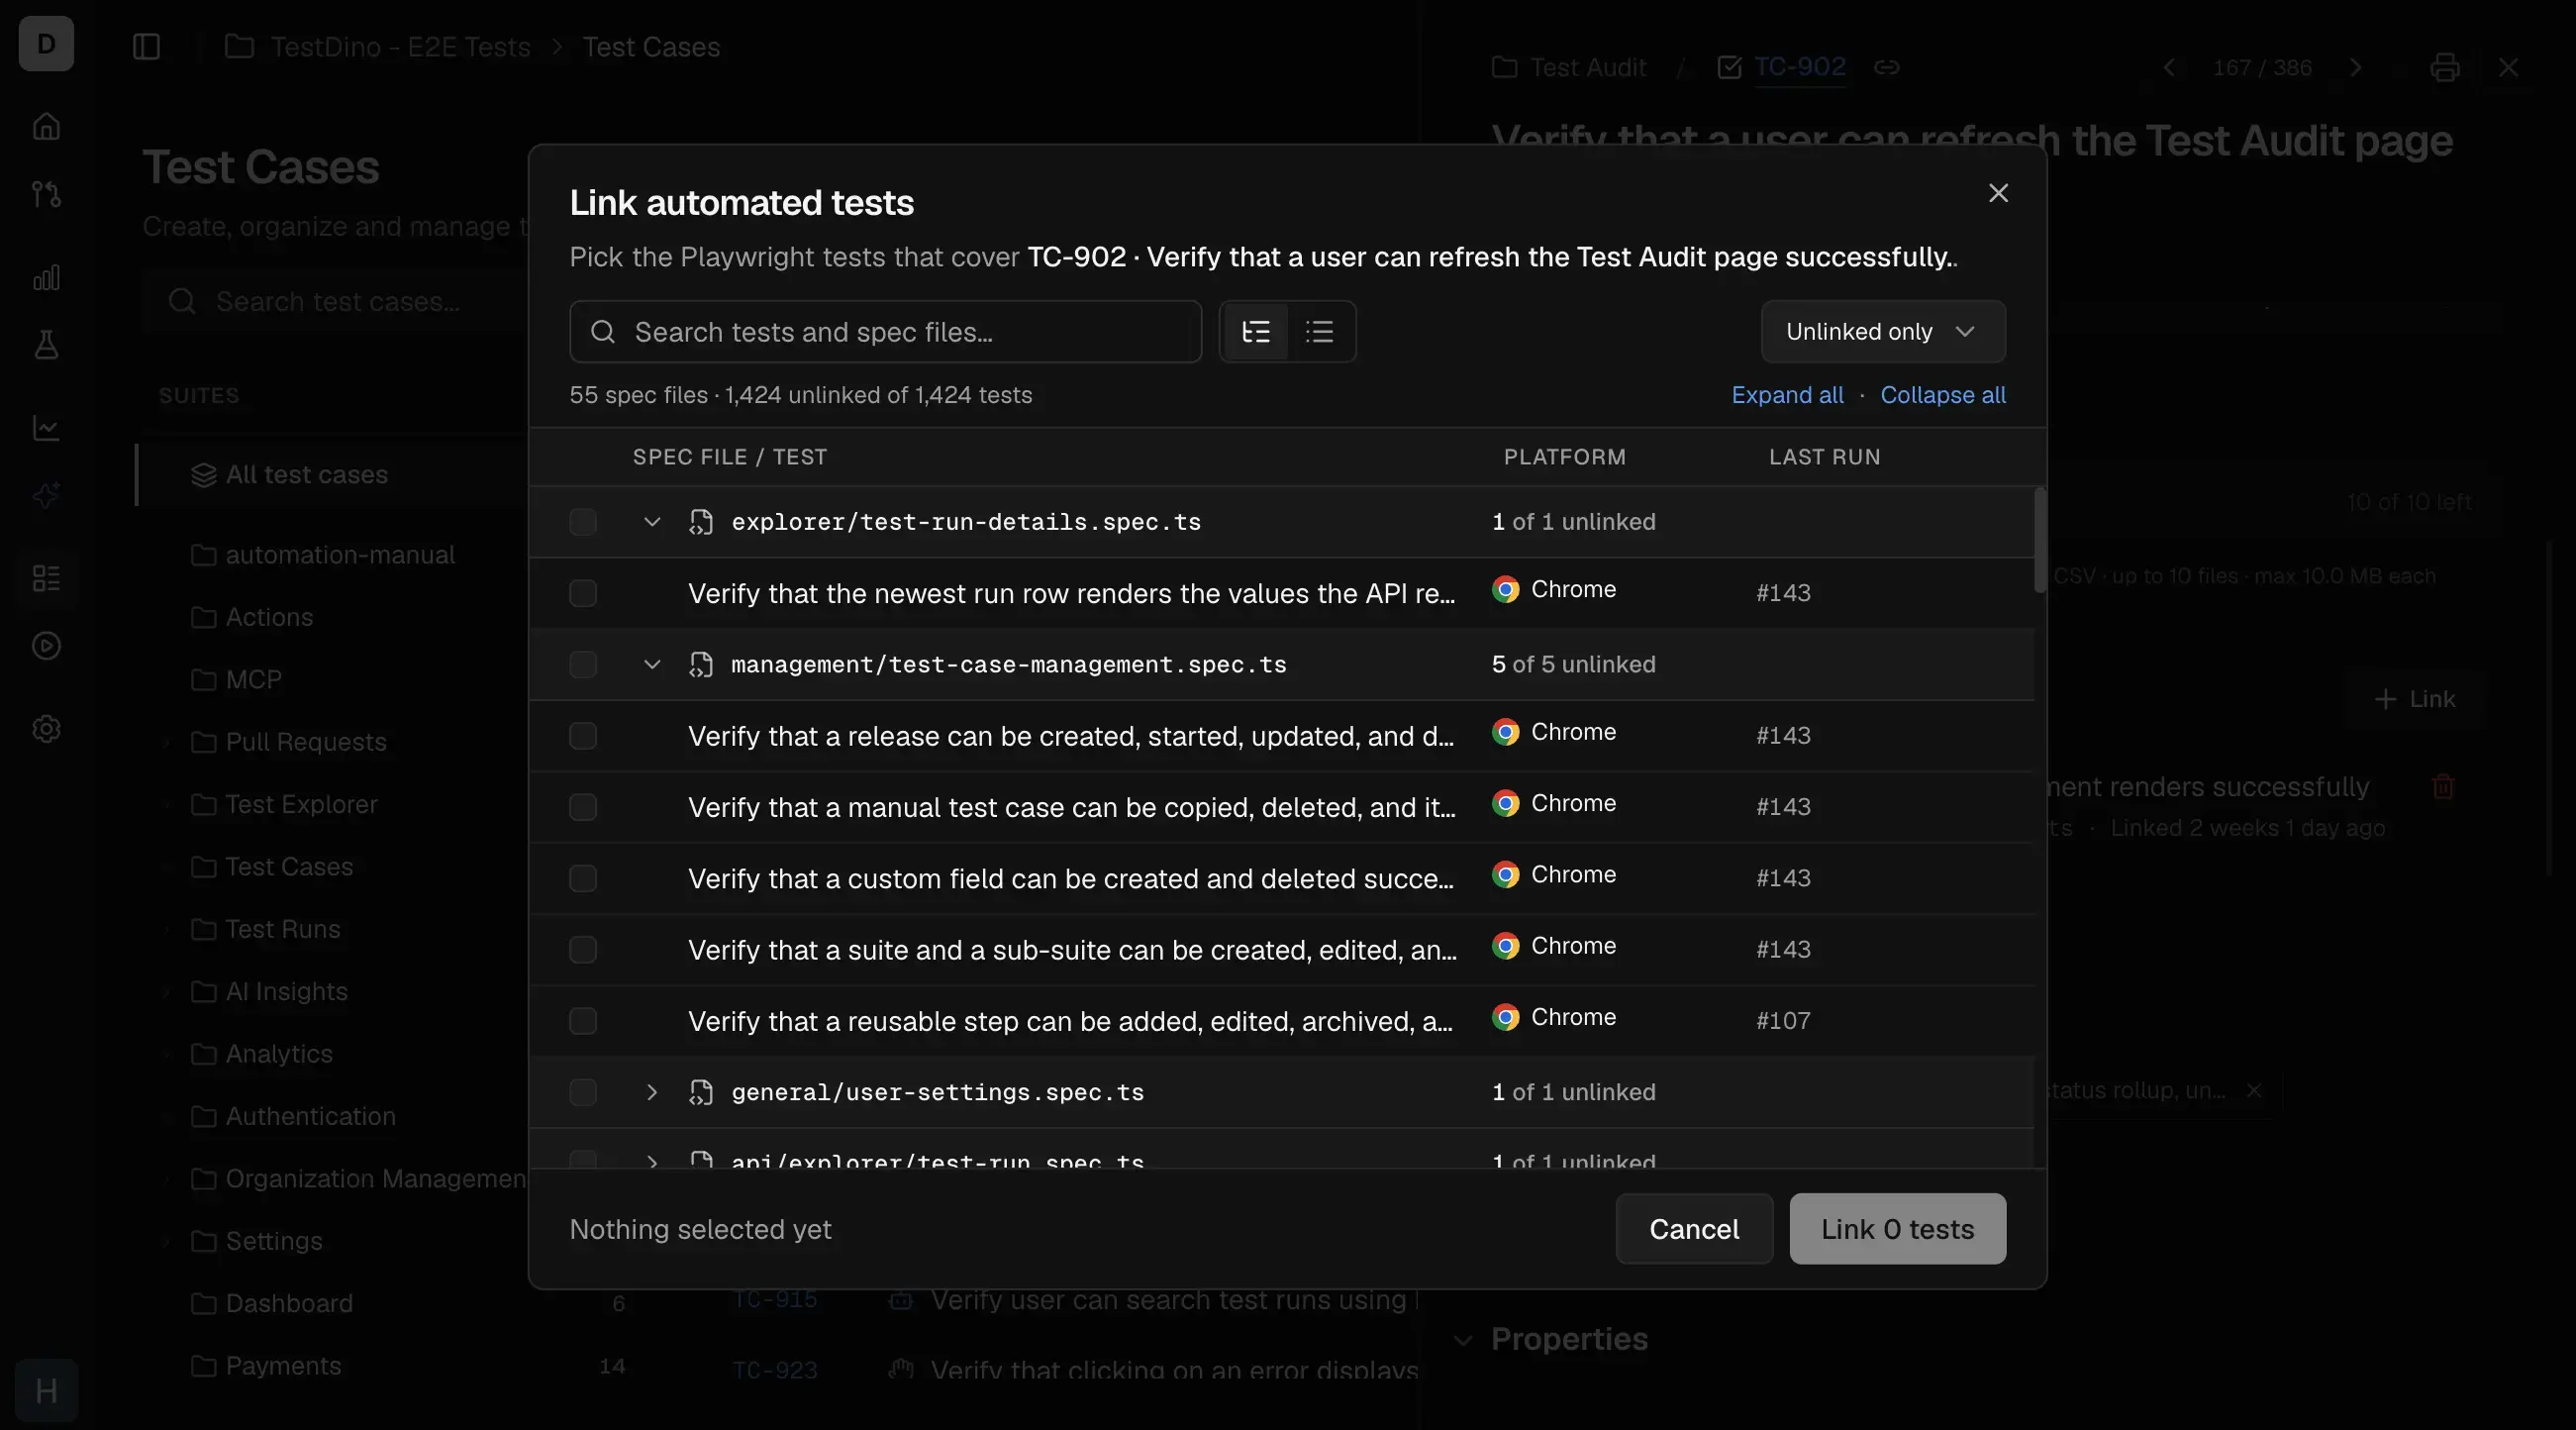
A link connects a test case to the automated Playwright test that covers it. Linking is what makes a case report its result automatically: in a run, a linked case takes its verdict from CI instead of waiting for someone to test it by hand. An unlinked case stays manual and is never reported as an automation gap. The section lists each linked automated test. Click Show run history on a test to see its recent results with run, branch, and date.- If no tests are linked, a Link automation button appears. Once linked, a Link button is shown to add more tests.
- Search by test name or spec file, and filter by Linked only, Unlinked only, or Linked + unlinked.
- Each row shows the browsers the test runs on, so you can confirm you picked the right one before linking.
 The picker groups tests under the spec file they live in, and names the test case you are linking to at the top so you do not lose track of it mid-search. Each test shows the platform it runs on and its last run, which is how you tell two similarly named tests apart before you commit to one. Use Expand all to open every spec file at once, and the filter to show Unlinked only while you work through a backlog.
 To create cases from tests you already automated, open New and choose From automation. It creates the test case and the link together, which avoids a mismatch between the 2.
Keeping Links Accurate
A run and a release are only as correct as the links behind them, so getting the mapping right is not optional. 4 rules decide whether a case reports the right result.
When a link goes stale, the run shows the case as
Not run with No CI match in recent runs. Re-link this case to an automated test. That message means the link is broken, not that the pipeline skipped the test. See why a case shows Not run.
Unlinking the last automated test from a case reverts it to Manual.
Properties
The Details panel showsStatus, Priority, Tags, Automation status, Flags, Type, and Severity by default. Click More properties to reveal:
LayerandBehaviour- Current Run Status - the case’s result and assignee from the most recent run it was executed in, with a link to that run. Hidden for a case that has never been run.

Linked Issues
The Linked Issues section lists the Jira or Linear issues linked to this case.Activity
3 tabs at the bottom of the page.
Press
M to start a comment from anywhere in the sheet, unless you are typing in a field.
Print Test Case
Click the print icon in the top-right corner of the Details Sheet to open your browser’s print dialog, where you can print the test case or save it as a PDF. The printout includes the test case ID, title, suite, all classification fields, automation status, description, pre/post-conditions, and test steps.

TipUse Bulk Actions to print multiple test cases at once.
Suites
Browse test cases organized by suite
Bulk Actions
Edit, delete, or print multiple test cases
Concepts & Settings
Field definitions, step formats, and project settings