

Quick Reference
Report Contents
Each generated PDF includes the following sections. View sample report (PDF) The same PDF opens from the View sample report button in the Scheduled Reports card header, so you can see a report before you create one.Set Up a Report
1
Open Scheduled Reports
Go to Project Settings > Reports and find the Scheduled Reports card. Click New report to open the New report panel.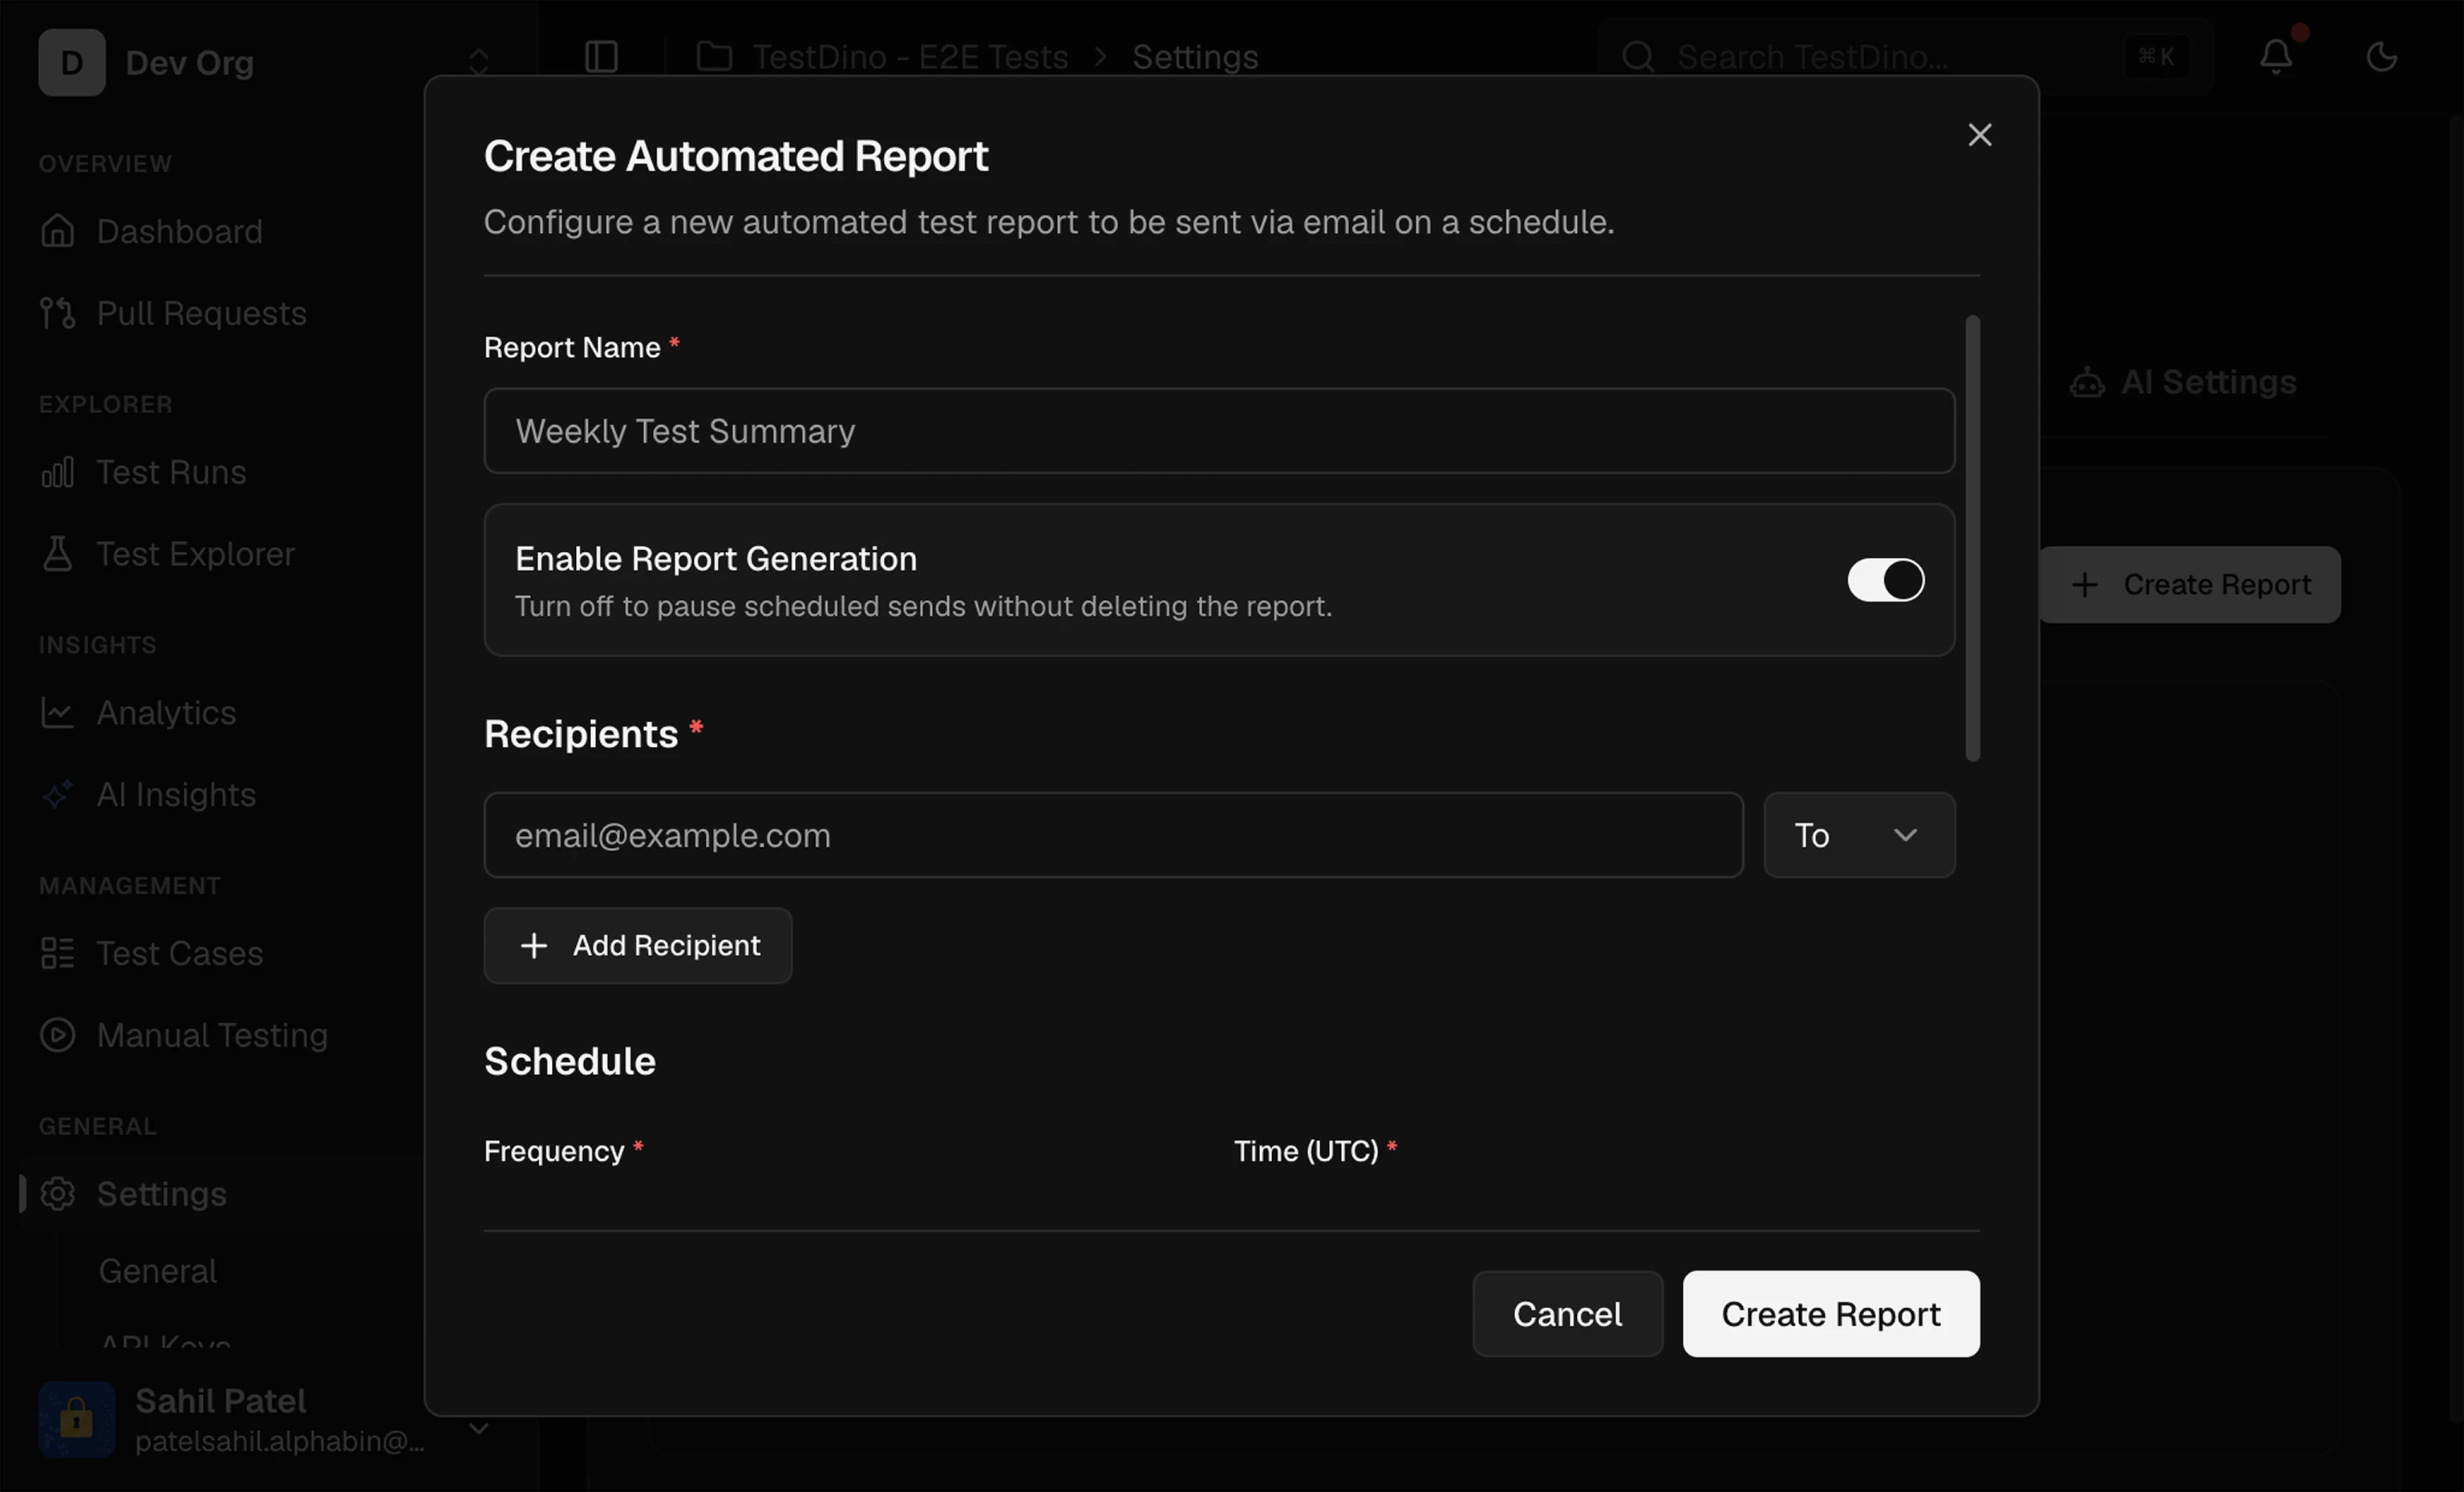
2
Name the report
Enter a descriptive name. This appears in the email subject line and PDF header.
3
Add recipients
Enter one or more email addresses. Use the type selector to assign each recipient as To, CC, or BCC.Click Add next to Recipients for each extra address. Remove a recipient with the remove button on its row. At least 1 recipient must be in the To field.
4
Configure the schedule
Select the report frequency, time (UTC), and lookback period.
5
Apply filters (optional)
Narrow the report scope by environment, branch, or tag.
- Environments: Select from environments defined in your branch mapping.
- Branches: Type a branch name and press Enter. Multiple branches are supported.
- Tags: Type a tag name and press Enter. Multiple tags are supported.
6
Create
Click Create report. The report runs on its next scheduled time.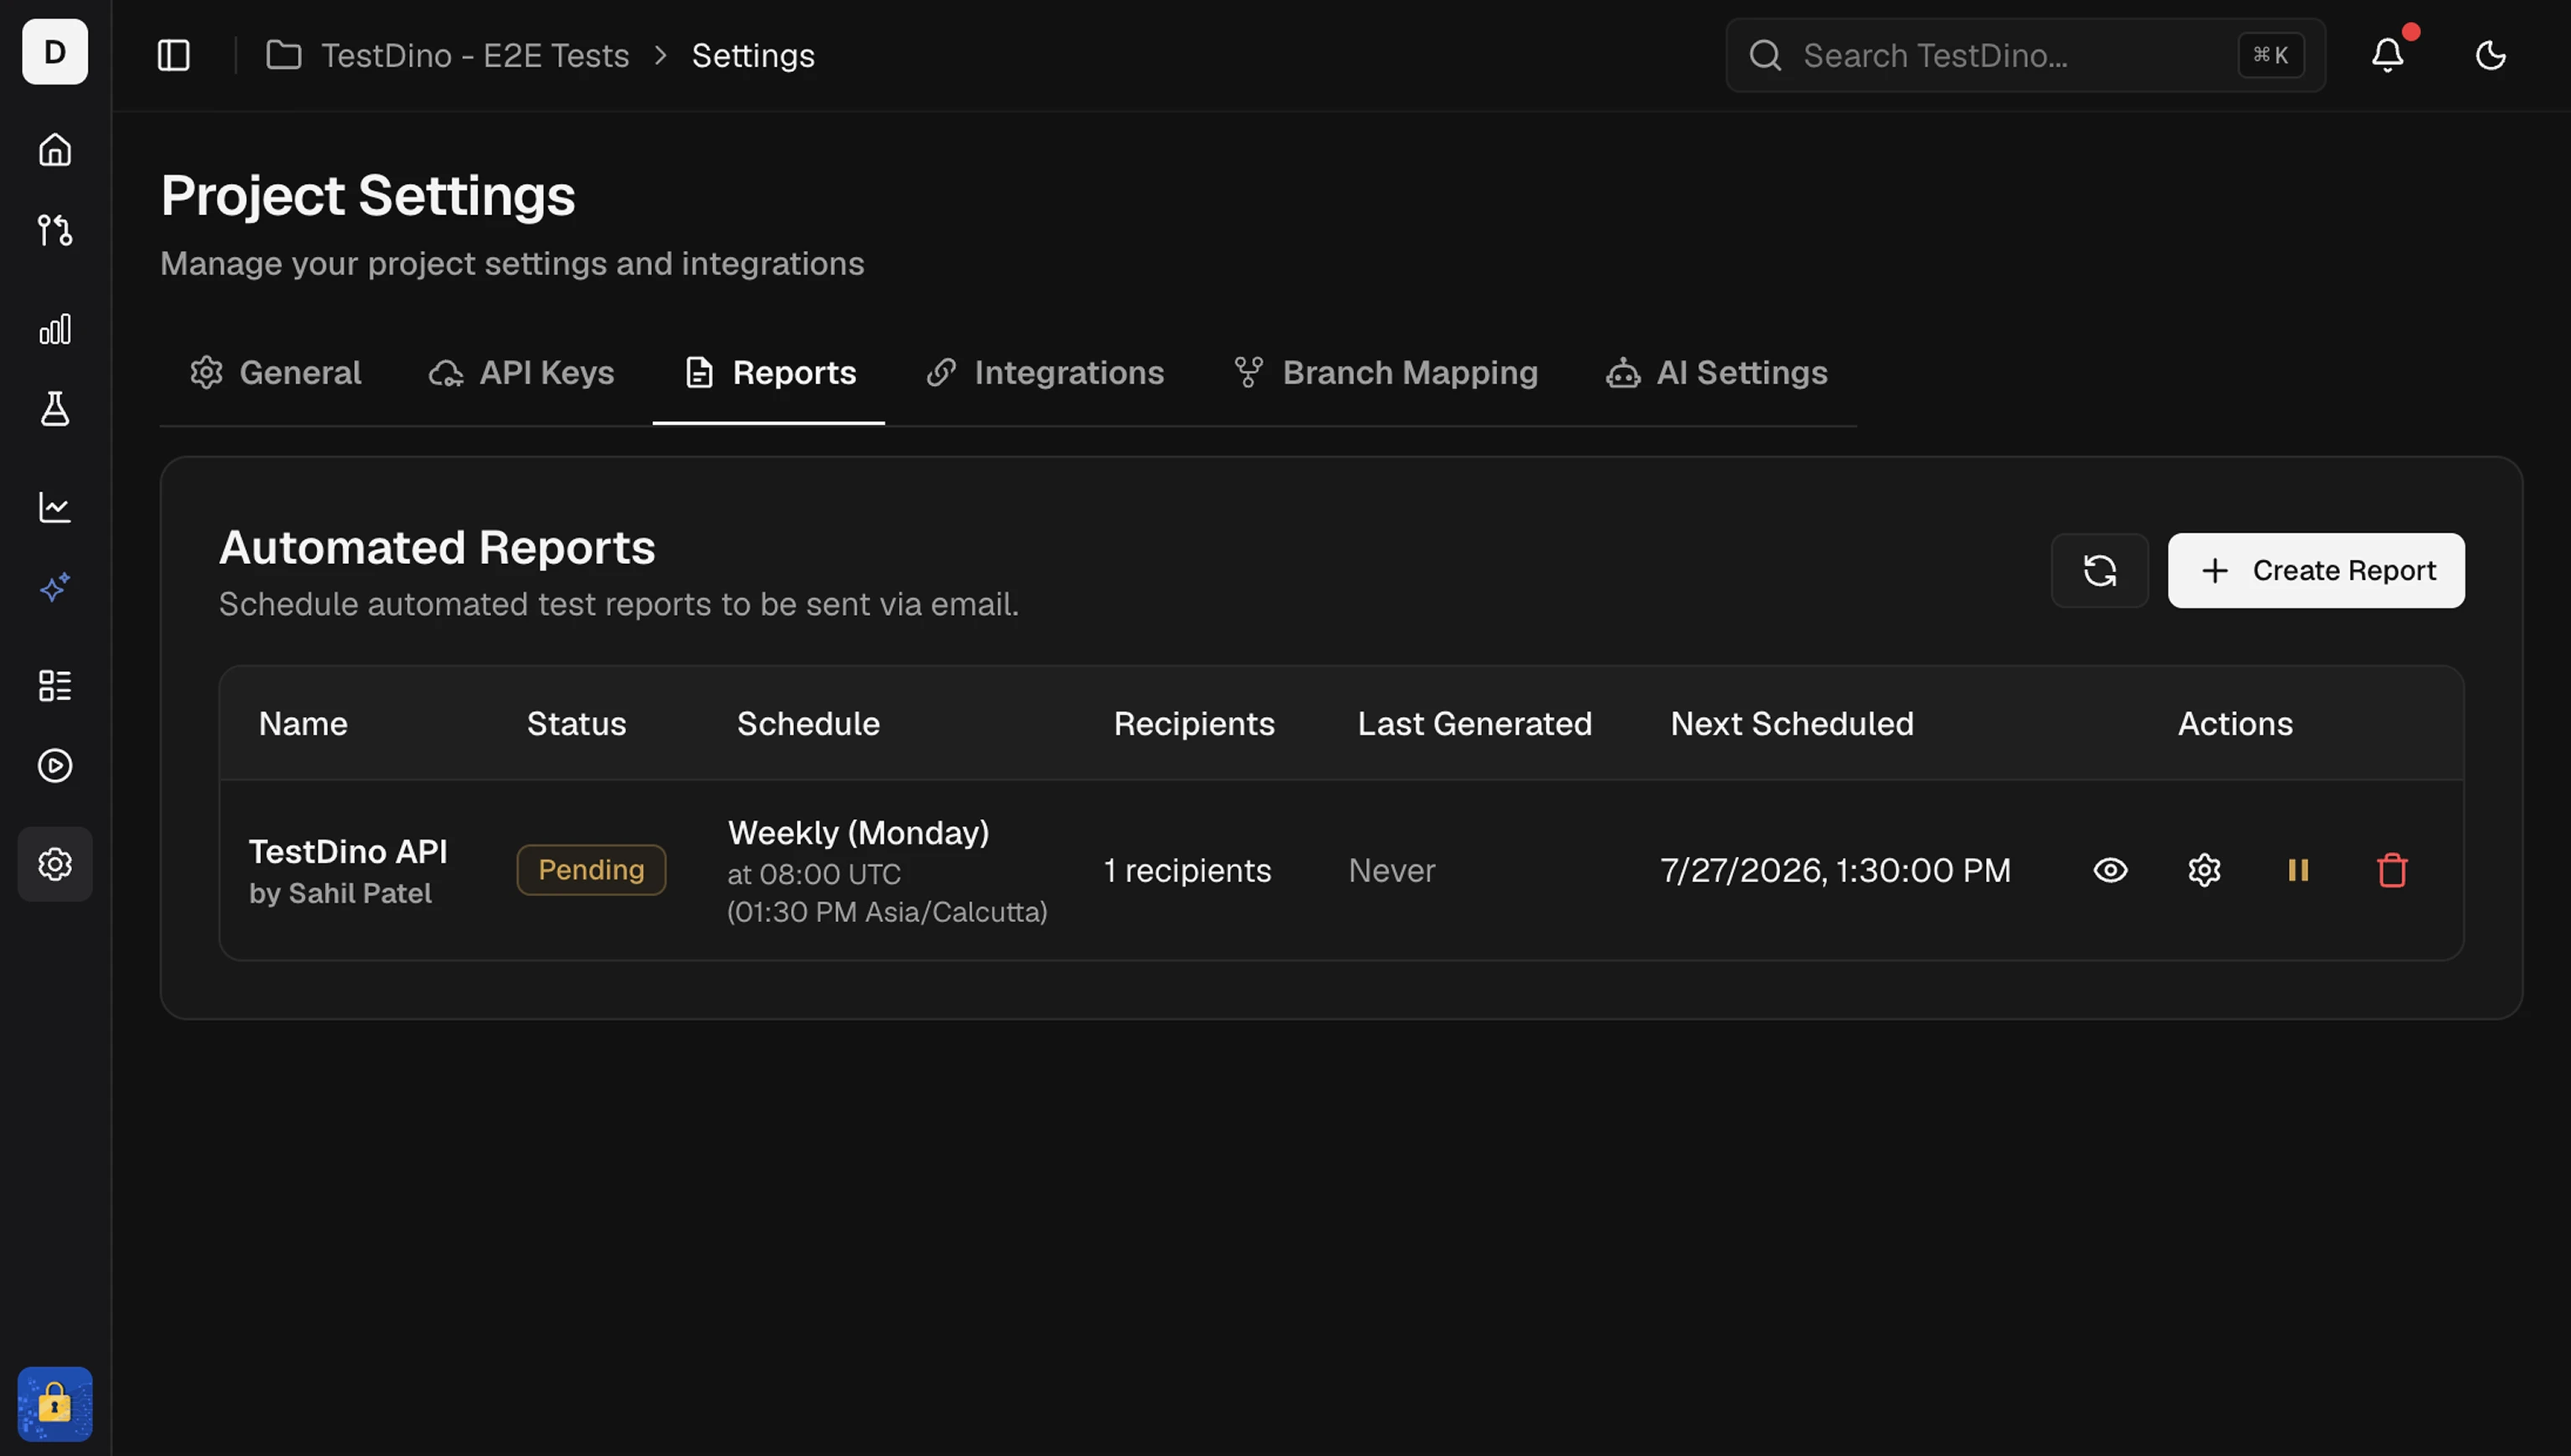
Manage Reports
Download a PDF
Open a report and click Download PDF in its details panel to generate the report now. The file is named<report name>-<YYYY-MM-DD>.pdf.
Edit
Select Edit from a report’s row menu to update recipients, schedule, filters, or the lookback period. All fields are pre-populated with the current configuration. Editing requires write access.Pause and Resume
Select Pause from a report’s row menu to stop it from generating, and Resume to re-enable it. Paused reports retain their configuration. Pausing and resuming require write access.Delete
Select Delete from a report’s row menu to permanently remove a report configuration. This action cannot be undone. Only admins can delete a report.Schedule Behavior
- All schedule times use UTC. The dropdown displays the equivalent local time in parentheses.
- The lookback period defines how many days of data the report covers. A 7-day lookback on a weekly report covers the previous full week.
- Reports generate at the configured hour and are delivered shortly after.
Project Settings
Configure project identity, API keys, integrations, and branch mapping.
Analytics
Explore interactive test execution analytics in the platform.