What you’ll learn
- How to install
testdino-mcplocally vianpxor a global install - How to generate a Personal Access Token and configure it per AI assistant
- How to wire up Claude Code, Cursor, and Claude Desktop, then validate
testdino-mcp over stdio.
Using Claude on the web? Skip the install and connect via the hosted MCP at
mcp.testdino.com. See Remote MCP Server.Prerequisites
- Sign in to TestDino
- Node.js installed (so
npxworks) - An MCP client: Claude Code, Cursor, or Claude Desktop
Choose an install method
Both methods run the same server and need the same token. Pick the one that fits how you work.| Method | Best for | Effort |
|---|---|---|
| Install via AI prompt | You already use Claude Code, Cursor, or another assistant with terminal access | One prompt |
| Manual setup | You prefer to edit the client config yourself, or use Claude Desktop | A few steps |
Create a Personal Access Token
Both methods need a Personal Access Token. You pass it to the server through theTESTDINO_PAT environment variable, which is what the server reads.
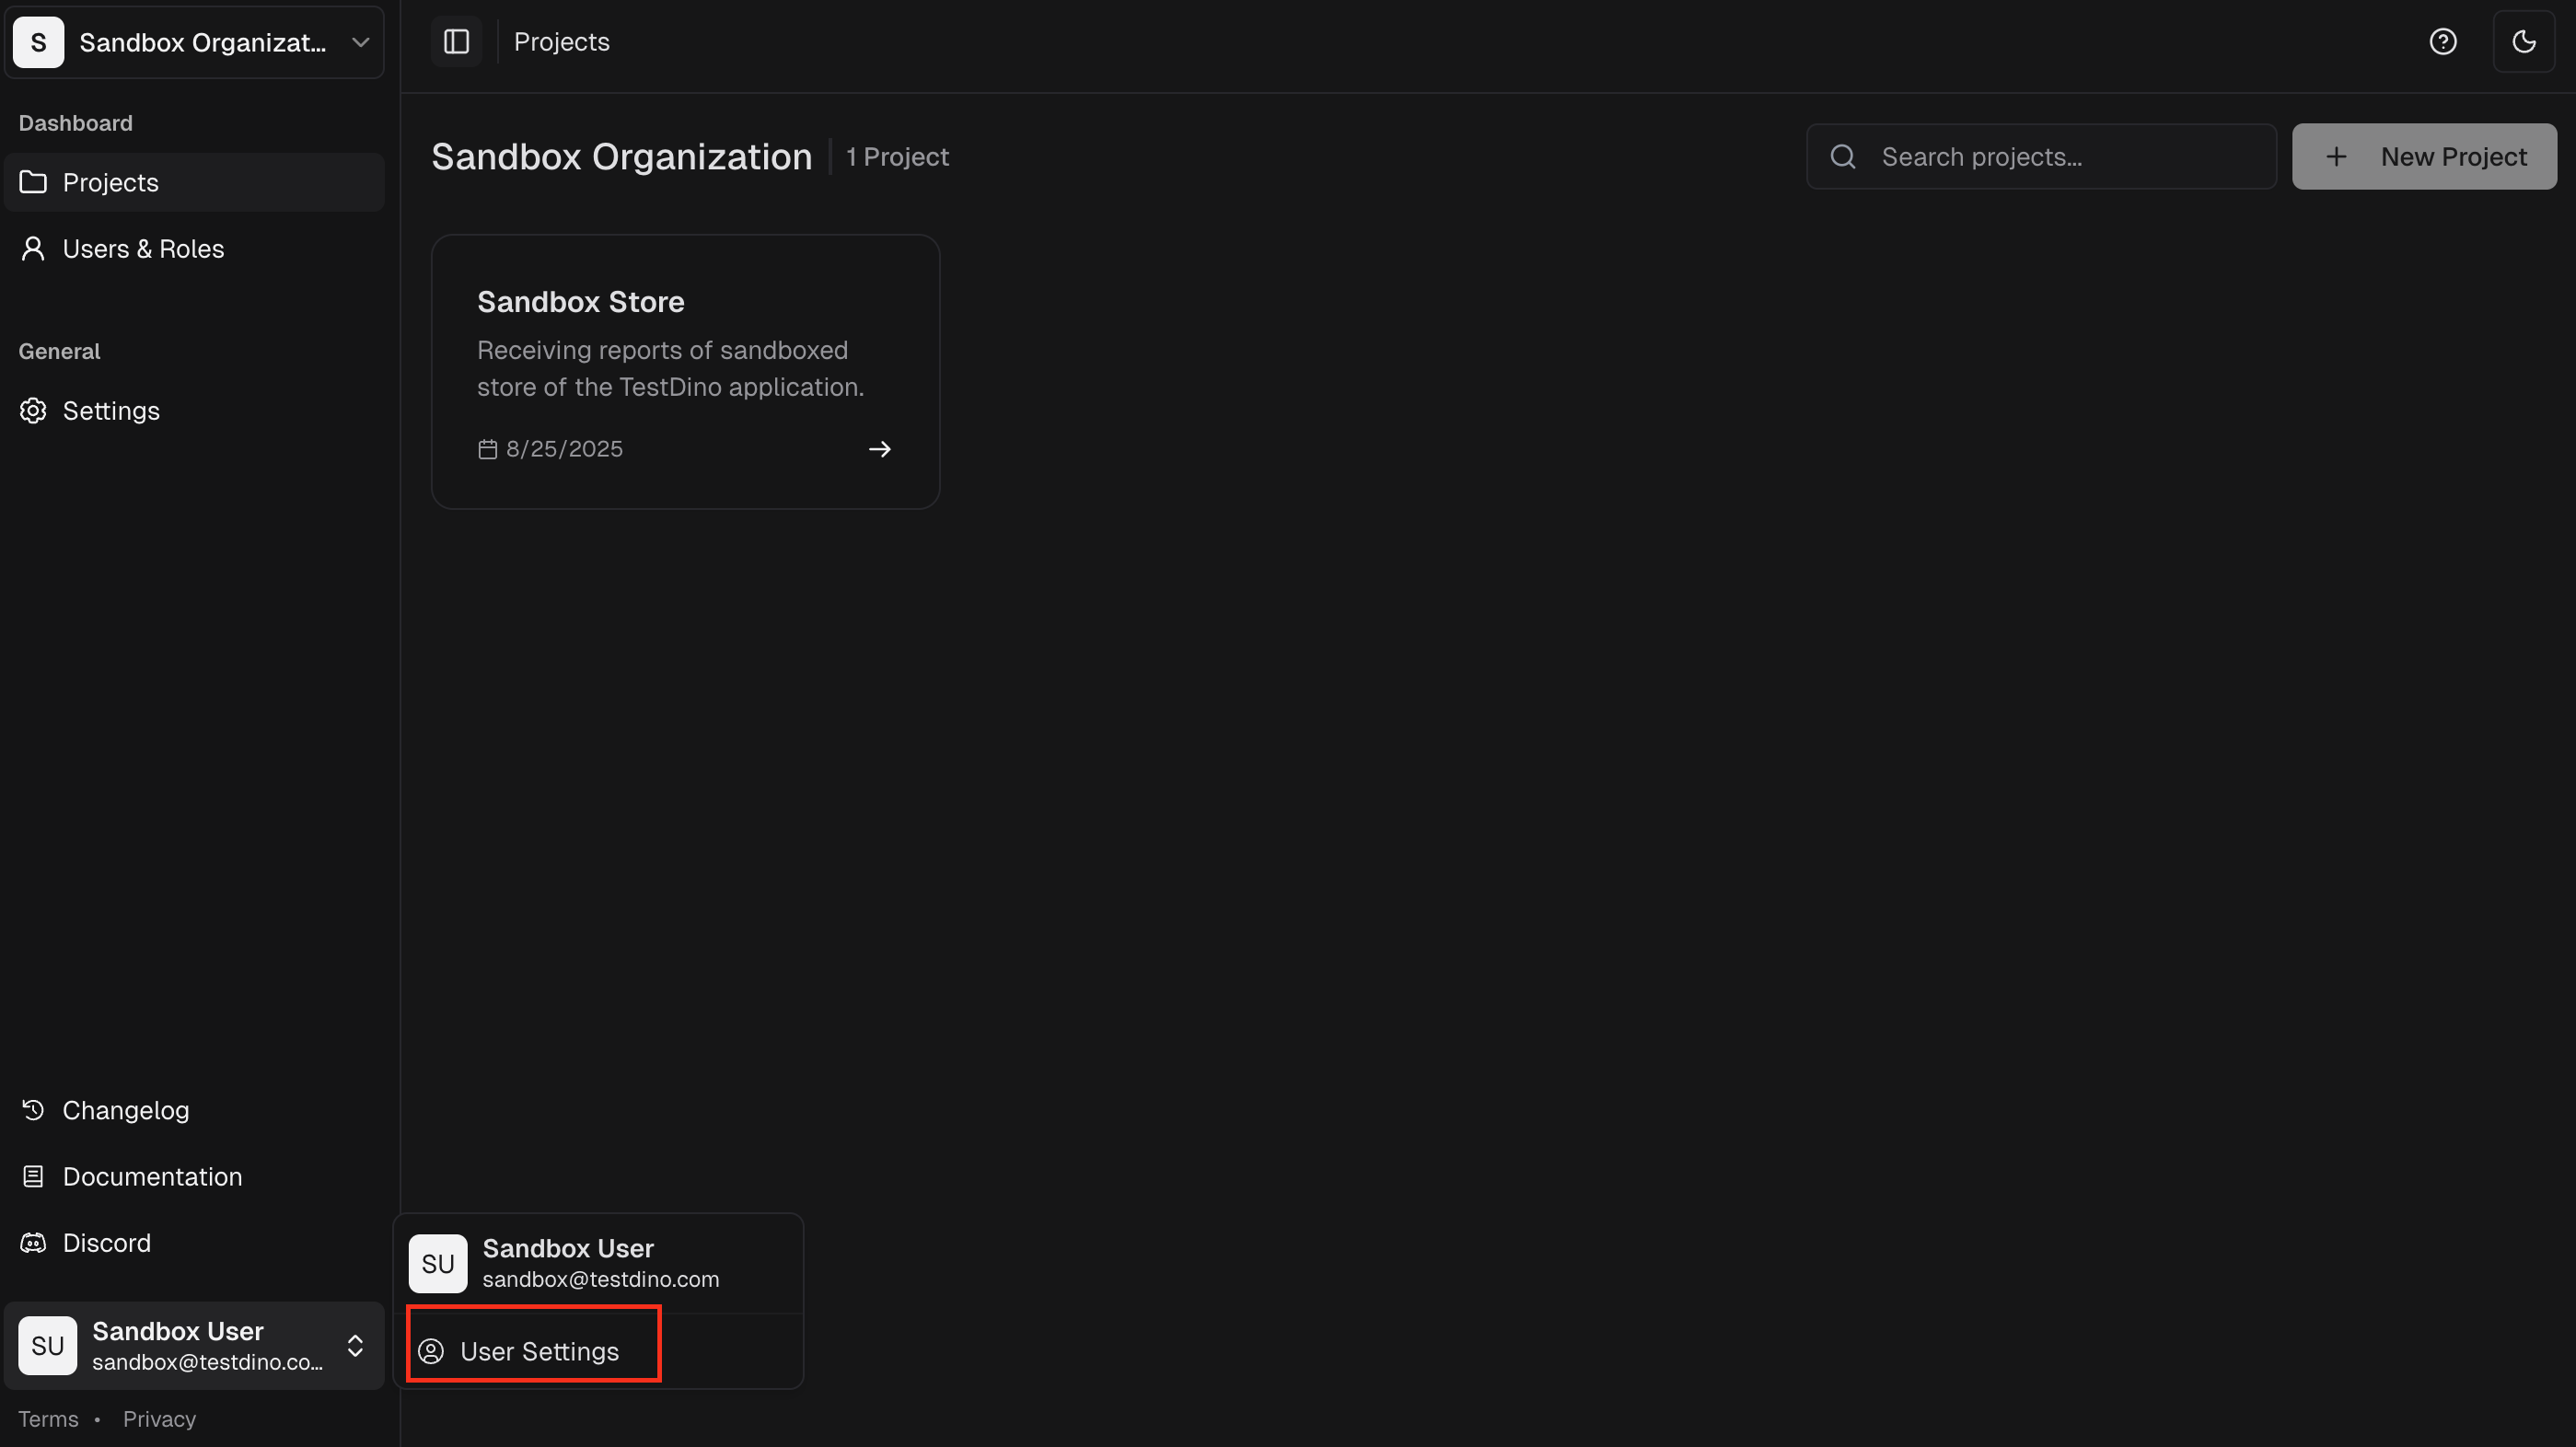
- Sign in to app.testdino.com
- Click your profile → User settings
- Go to Personal access tokens → Generate new token
- Set a Token Name (e.g.,
mcp server) and Expiration (30 to 365 days)
- Grant access to at least one project with Test runs, Manual tests, or both
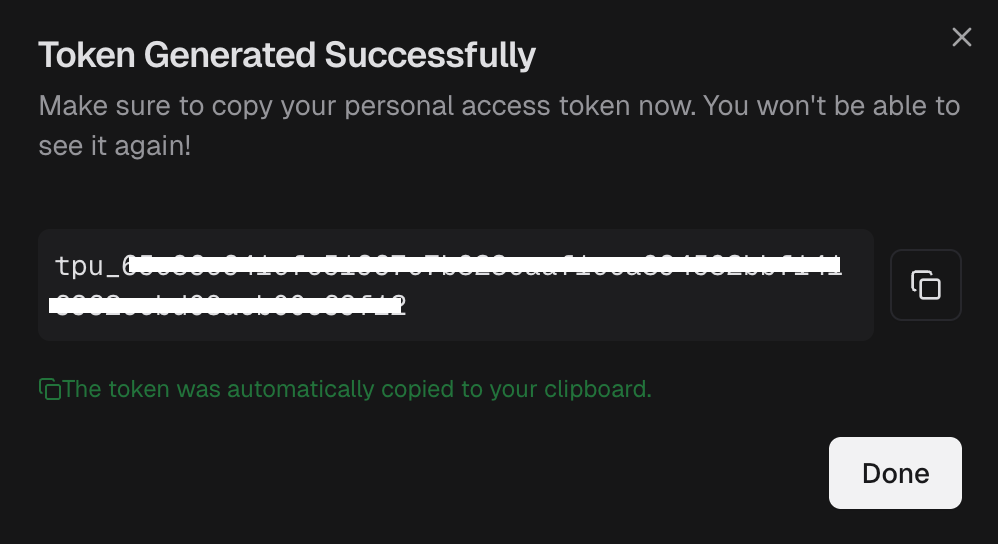
- Click Generate token and copy it immediately
Install via AI prompt
Ask a coding assistant with terminal access to install and wire up the server. Give it the package name, your token, and theTESTDINO_PAT requirement so it sets the variable correctly.
Paste a prompt like this into Claude Code, Cursor, or another assistant with terminal access:
Install and validate the TestDino MCP server.
claude mcp add testdino --env TESTDINO_PAT=your-token -- npx -y testdino-mcp@latest (or edits the client config for Cursor and Claude Desktop), restarts the connection, then calls health to confirm it reads your organizations and projects.
Manual setup
Edit the client config yourself. Install the server, add the config entry with your token, then validate.Install the MCP server
Try without installing:Or install globally:
NoteYour MCP client starts the server as a local process.
npx is easiest for evaluation, and a global install is convenient for daily use.Configure your MCP client
Pick your client and add the server entry.
- Claude Code
- Cursor
- Claude Desktop
Run in your terminal. Pass the token through the No restart needed. Verify with:You should see
TESTDINO_PAT environment variable, which is what the server reads:testdino with a ✔ Connected status.Validate the connection
Ask your assistant:“Run
health and confirm it can see my organizations and projects.”health verifies three things: the server is running, the token is loaded, and TestDino is reachable. A successful response lists your account, your organizations, and each project with its projectId. Copy one. Most query tools take a projectId as a parameter.See Troubleshooting if health fails.Next Steps
Tools Reference
Full parameters, input schemas, and video demos for every tool
Troubleshooting
Error messages, fixes, and editor-specific solutions
OpenClaw Chat Bot
Wrap the local server as a Slack, Telegram, or Discord bot
Remote MCP Server
Hosted MCP for ChatGPT and Claude on the web